Installing the ARP Stud and Nut Kit
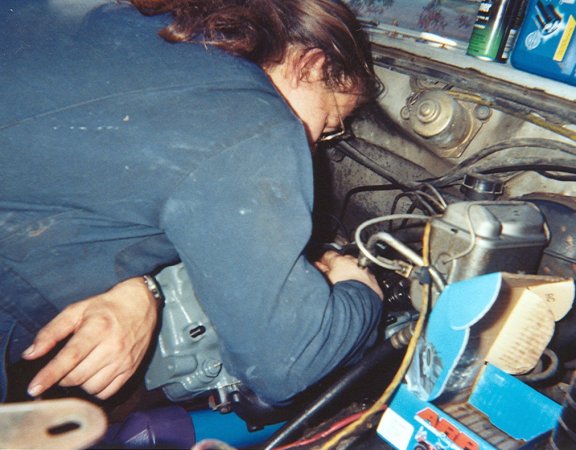
With the studs fully threaded into the block, I'm installing the nuts and washers and tightening them by hand, in preparation for torquing them down after all nuts are installed. ARP's instructions state that you should thread the studs into the block until they're hand-tight, but with the head on the block, this is difficult. Fortunately, ARP was thoughtful enough to incorporate a fitting for an Allen wrench into the head of each stud. So, using an Allen wrench, I threaded the studs into the head until I could no longer turn the wrench with two fingers. This method seems to have worked nicely. You can see a stud without a nut just under my right arm, and you can also see the box that the studs came in by the brake master cylinder.
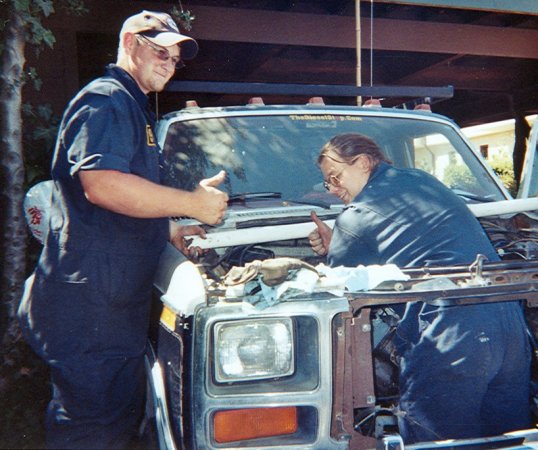
While threading one of the five rearmost studs into the block (before removing the pole and chain), Seth and I take a second to show Robin (who played photographer that day) our feelings regarding the progress made that day. This was the second hand gesture she got. ;)
Removing external parts and accessories
Heads, gaskets, and the block after head removal
Removing timing gear cover and camshaft
Cleaning the ins and outs of the engine
Final engine block cleaning with compresed air
Assembling and testing the oil cooler
First steps of modifications for the turbocharger
Comparing the stock head bolts to ARP studs (lengthy!)
Installing the head studs
Installing the intake manifold and injector pump
Assembling and installing the turbocharger