It begins
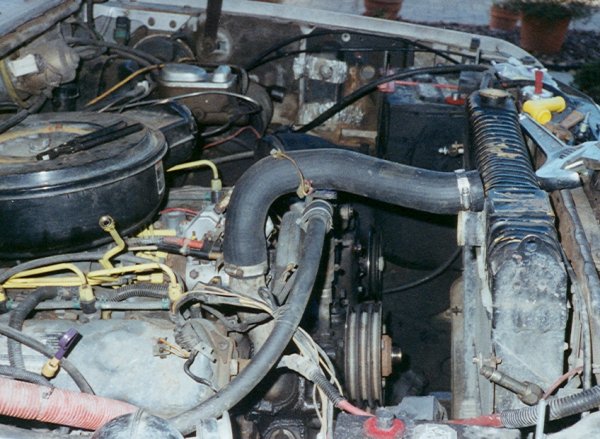
I've started removing accessories. The entire air conditioning system has been removed in order to be flushed out and re-installed. I have also removed the alternator, vacuum pump, and engine fan clutch (using that big crescent wrench sitting on the radiator; worked very well).
The power steering pump and air cleaner assembly have been removed, along with the radiator. I could have unbolted the power steering pump and moved it out of the way without disconnecting the lines, but I've got a serious power steering fluid leak that I want to correct. This also gives me an opportunity to clean up the steering gearbox and frame rail in the area. It turns out that it's a very good thing I removed the pump; one of the bolt holes in the bracket that holds the pump was ovaled out badly, putting undue presure on the other two bolts. A picture of this will be posted later.
Thanks again to Dave for helping me with removing the radiator. Pulling that monster is definitely a two-man job. :)
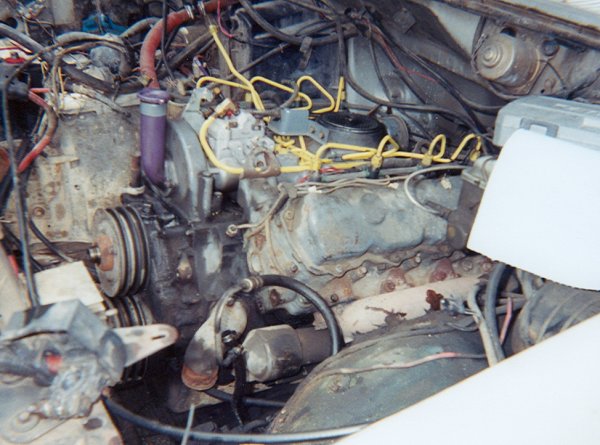
The injector pump is removed, leaving only the intake manifold, valley pan, and valve covers to remove before getting into the internal parts. Note all the dirt on the valley pan; some of it is paint from the injector lines (darnit, I thought I had done a better job of painting them), but most of the dirt is from what appears to be an old squirrel's nest that I found just behind the CDR valve (the round piece just behind the engine intake) on the valley pan itself.
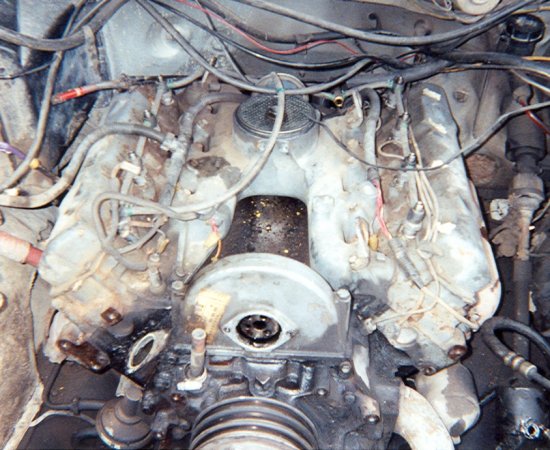
The valve covers, intake manifold, and valley pan removed. You can see all the black oil deposits that years of use and abuse have left in the valley between the cylinder banks. I will be thoroughly cleaning that out, with the intent of switching to synthetic oil (this way, the synthetic will have less grime to clean out). It apears that all of the rocker arms are okay, as are the pushrods and valve springs.
Removing external parts and accessories
Heads, gaskets, and the block after head removal
Removing timing gear cover and camshaft
Cleaning the ins and outs of the engine
Final engine block cleaning with compresed air
Assembling and testing the oil cooler
First steps of modifications for the turbocharger
Comparing the stock head bolts to ARP studs (lengthy!)
Installing the intake manifold and injector pump
Assembling and installing the turbocharger