Engine parts after painting
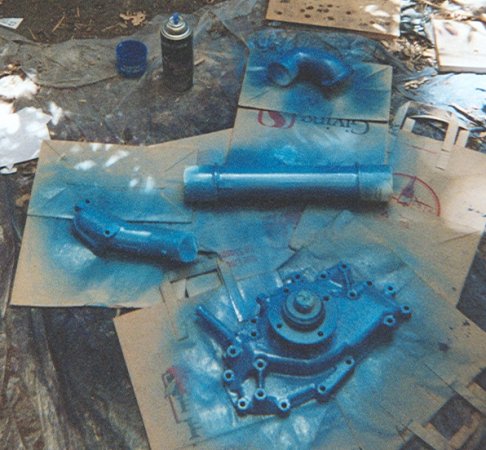
The replacement water pump, the oil cooler center piece, the thermostat housing, and the lower radiator hose outlet after painting. Following the "standard" color-coding pattern, these are blue, indicating fresh water (were this a boat using a raw/fresh water heat exchanger system, raw water pipes are green while fresh water pipes are blue).
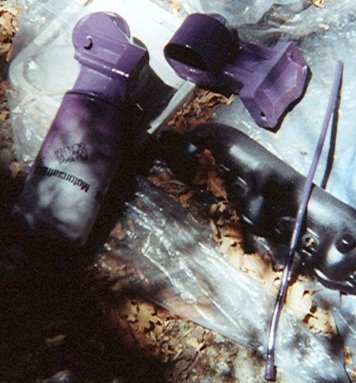
The oil cooler end caps and dipstick tube. The old oil filter was re-installed to protect that part from the paint. This worked far better than masking tape would have. :) You can also see the (unfinished) exhaust manifolds to the right of the oil filter (with the dipstick tube resting on one of them).
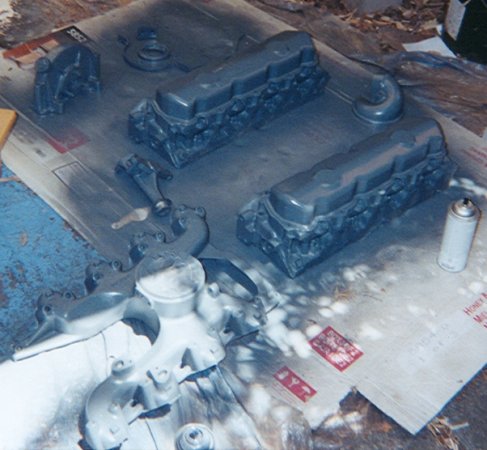
The cylinder heads, valve covers, injector pump drive gear cover, timing gear cover, intake manifold, turbo oil drain/mount, and the inlet that goes between the turbo discharge and the intake manifold. Sure looks a lot better than they did!
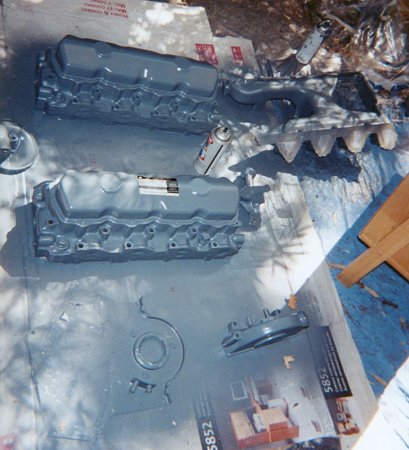
A different angle of the previous picture, with the tape removed from the data sticker on the passenger's side valve cover. It's not too easy to see from this picture, but the masking tape worked perfectly on this part; it looks like I put a new sticker on the valve cover after painting it.
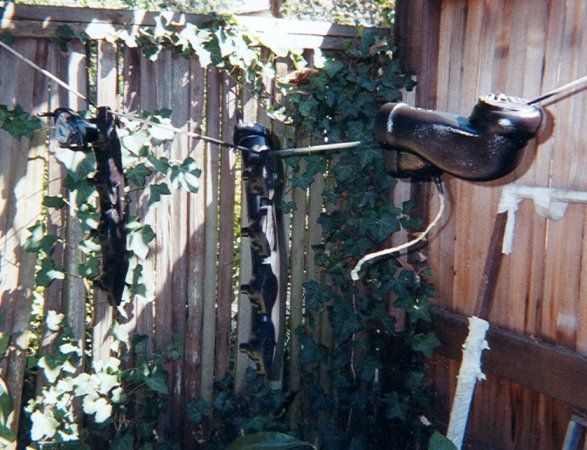
The exhaust manifolds and turbo exhaust housing after painting with a special paint that can withstand up to 1200°. After the paint dried, I placed these three parts in the kitchen oven at 300° for 2 hours so that the paint would cure completely (as per the instructions on the can). It seems to have worked, but I made other people in the house unhappy with the smell. ;)
Removing external parts and accessories
Heads, gaskets, and the block after head removal
Removing timing gear cover and camshaft
Cleaning the ins and outs of the engine
Final engine block cleaning with compresed air
Parts after painting
Assembling and testing the oil cooler
First steps of modifications for the turbocharger
Comparing the stock head bolts to ARP studs (lengthy!)
Installing the intake manifold and injector pump
Assembling and installing the turbocharger